Heat-Shrinkable Labels in Narrow-Web Flexography: A Comprehensive Technical Guide
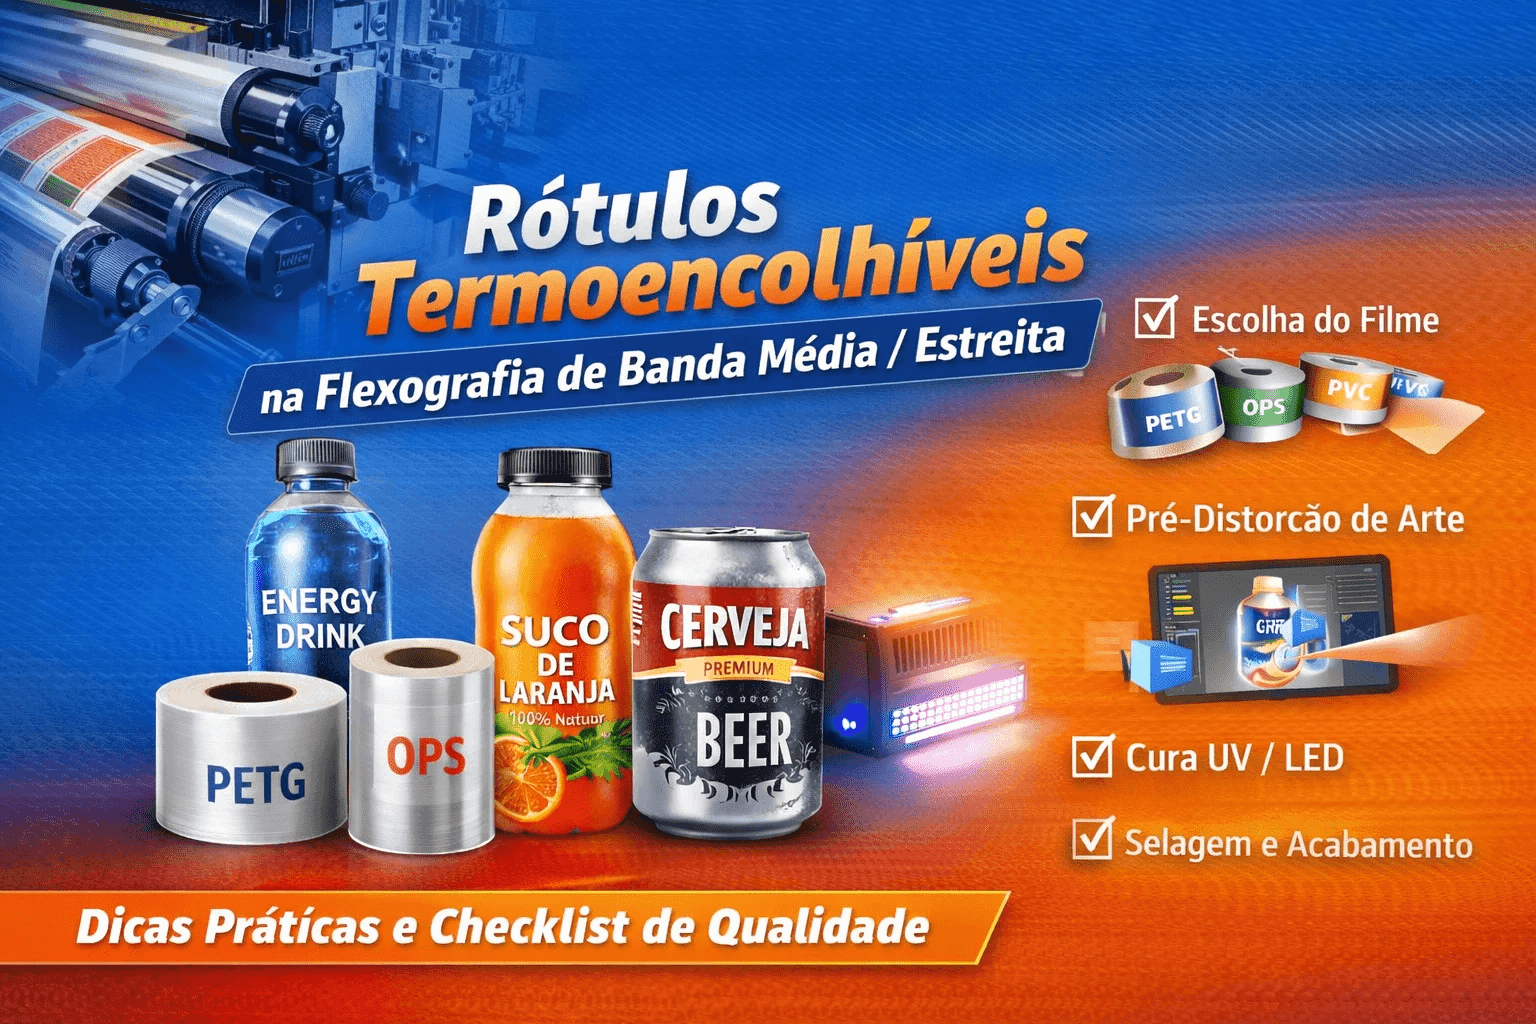
What are shrink sleeves, and why do they “command respect” in narrow-web flexography?
Heat-shrinkable labels (shrink sleeves) are manga printed on film that wrap the packaging 360° and, during the heat application, shrink to conform to the shape of the bottle or can. This feature provides a vast scope for communication and allows for the use of packaging with complex shapes, shoulders, necks, and raised areas—where a self-adhesive label would normally have limited coverage. (bluelabelpackaging.com)
However, that same advantage (shrinking and “hugging” the bottle) presents the sleeve’s greatest technical challenge: All 2D art will be distorted when converted to 3D. So, a sleeve isn't “just a pretty print”; it's art + process engineering project.
Where most people go wrong: a sleeve is a project (film + shrinkage allowance + artwork + application), not just a print job
The most costly mistake with heat-shrinkable labels is treating the job as if it were an ordinary label: the “flat” artwork is approved, it’s printed, and only then—in the shrink tunnel—is it discovered that text is distorted, logos were distorted, The gradients look weird, "escaped" record, or that the sealing It became clear.
In sleeve projects, the correct sequence is:
- define the film and the shrinkage curves (by material type and by application/tunnel)
- design the packaging (or at least identify critical areas)
- to distort art in advance to compensate for shrinkage and warping
- Validate test + validation in a real-world application (tunnel sample)
- only then can we establish printing and control standards
The logic behind pre-distortion—adjusting the artwork so that it “returns to its original position” after shrinking—is a well-established practice in prepress solutions and technical documentation within the industry. (docs.esko.com)
Sleeve Materials: How to Choose Between PETG, OPS, and PVC (and How This Affects Your Print)
The choice of movie determines: how much it shrinks, in which direction, how sensitive it is to temperature, dimensional stability, sealing performance and even logistical risks (the film “shrinking” before it’s supposed to).
PETG
PETG is widely used when a project requires high shrinkage and good appearance (clarity/luster), and is often cited as a strong choice for more “aggressive” bottle designs. (labelandnarrowweb.com)
OPS
OPS is known for its good shrinkage properties and low variation in the machine direction (depending on the specification), but it tends to require attention with thermal sensitivity and control of the application/storage process. (labelandnarrowweb.com)
PVC
PVC is still used in many markets; however, in addition to technical process issues, there are important discussions regarding its impact on the recycling chain when used in PET bottles (it is worth analyzing the situation, customer requirements, and local guidelines). (kidv.nl)
Important point (no “greenwashing” here): guidelines and studies on recyclability vary by region and technology. There are reports and guides that discuss how sleeves can make it difficult to recycle PET packaging (especially due to density, separation, and inks), but there are also innovations(e.g., “washable” paints and inks and floatable solutions) recognized in industry initiatives. (kidv.nl)
Prepress for sleeves: the step that determines whether your project will be a success or a headache
1) Predistortion (compensation)
For sleeves, the design must take into account that the fabric shrinks and redistributes itself unevenly across shoulders, necks, and areas with sudden changes in diameter. Therefore, the typical process involves compensate for distortion during prepress (pre-distortion), with visual adjustments and 3D/real-world validation. (docs.esko.com)
Practical criteria I use:
- small text: avoid placing in areas of high deformation
- geometric shapes (circles, squares): extreme caution — they reveal distortion
- Horizontal/vertical “stripes”: indicate whether the sleeve is “twisting” during application
- Placement: Plan to land in a “clean” reading area or use an artistic strategy
2) Critical zones and “restricted areas”
Even without advanced 3D software, you can still create maps:
- shoulder region (rapid change in diameter)
- transition to a bottleneck
- base with a small radius
- grip areas (where the hand grips or rubs)
3) A meaningful approval
The “flat” race on its own doesn't tell. The rule is:
- sample tested in an actual tunnel (or under equivalent conditions)
- visual evaluation + dimensional criteria (alignment, legibility, acceptable deformation)
Medium/Narrow-Web Flexographic Printing: What Changes in the Process (and Where Instability Arises)
Narrow-web flexography is extremely well-suited for sleeves—but sleeves require strict setup and control because even the slightest variation can result in a major defect after shrinkage.
Anilox, ink, and dot gain: stability first, “perfect color” second
A good rule of thumb: Before trying to match “the color in the catalog,” make sure:
- consistency of ink density/strength along the roll
- repeatability across shifts
- viscosity/temperature control (especially over long periods)
If the impression fluctuates, the tunnel “amplifies” the perception of the problem.
UV/UV LED Curing: It’s Not Just About Curing—It’s About Curing the Right Way
For sleeve films, the curing time must be:
- sufficient for durability (friction, handling, transport)
- without causing defects due to excess energy (depending on the ink/film combination)
- consistent in terms of speed and width
Traceability and repeatability
A sleeve usually has:
- seamed sleeve or specific construction
- notching/drilling and markings
- application tolerances
This makes the “functional” record (the one that matters to the application) just as important as the “visual” record.
Sealing, serration, and finishing: where conversion makes or breaks the deal
In many projects, The finish determines the end customer's perception.
Seam
Seaming is a classic risk area: it can “pull” the artwork, create shadows, and reveal misalignment. In technical discussions within the industry, distortion and seams are cited as critical issues with sleeves. (labelandnarrowweb.com)
Best practices:
- Avoid text and fine details along the seal line
- Treat the seal as a “safety zone” in the layout
- Validate using the applied sample
Perforation / “easy open”
Depending on the market, there is a requirement to facilitate removal (including for recycling). Some white papers and guides mention options such as vertical perforation or “zipper” perforation to facilitate removal of the sleeve. (resourcelabel.com)
Resistance to abrasion (scuffing) and handling
The sleeve is touched, moved, and rubbed. If the surface can't handle it:
- scratch
- loses its luster
- Graphical "glitches" appear quickly
Quick Checklist: What I Check Before Approving a Sleeve for Production
A. Customer/Packaging Information
- bottle design/dimensions (diameters by height + shoulder/neck area)
- type of application and tunnel (steam/air, temperature, speed)
- Required shrinkage rate and orientation (MD/TD)
B. Movie
- PETG/OPS/PVC (and supplier version)
- process window (thermal sensitivity/logistics)
- winding quality and dimensional stability
C. Prepress
- Applied and Revised Predistortion
- critical areas mapped and respected
- planned sealing
D. Printing
- setup parameters (pressures, viscosity, speed)
- validation of cure and resistance
- functional record for finishing/application
E. Conversion/Finishing
- Validated sealing and serration
- cutting tolerances
- Applied test (actual sample) passed
Frequently Asked Questions (FAQ) That Drive Traffic
Is a sleeve always better than a self-adhesive label?
No. Sleeve is unbeatable for 360° and complex geometries, but it requires design, validation, and process discipline. (bluelabelpackaging.com)
Why does my “perfect” artwork end up crooked in the jar?
Because two-dimensional art becomes distorted when scaled down. The solution is pre-distortion followed by validation. (packagingeurope.com)
PETG/OPS/PVC: Which One Should You Choose?
It depends on the geometry, shrinkage rate, aesthetics, and customer requirements (including sustainability and recycling, when applicable). (labelandnarrowweb.com)
Conclusion: A good sleeve isn't a matter of luck—it's a method
Heat-shrinkable labels are a powerful solution because they provide visual impact and full coverage, but they only perform well when the company treats the project as a system: film + prepress + print stability + finishing + application. The difference between “printing a sleeve” and “mastering a sleeve” lies in the method and discipline.